


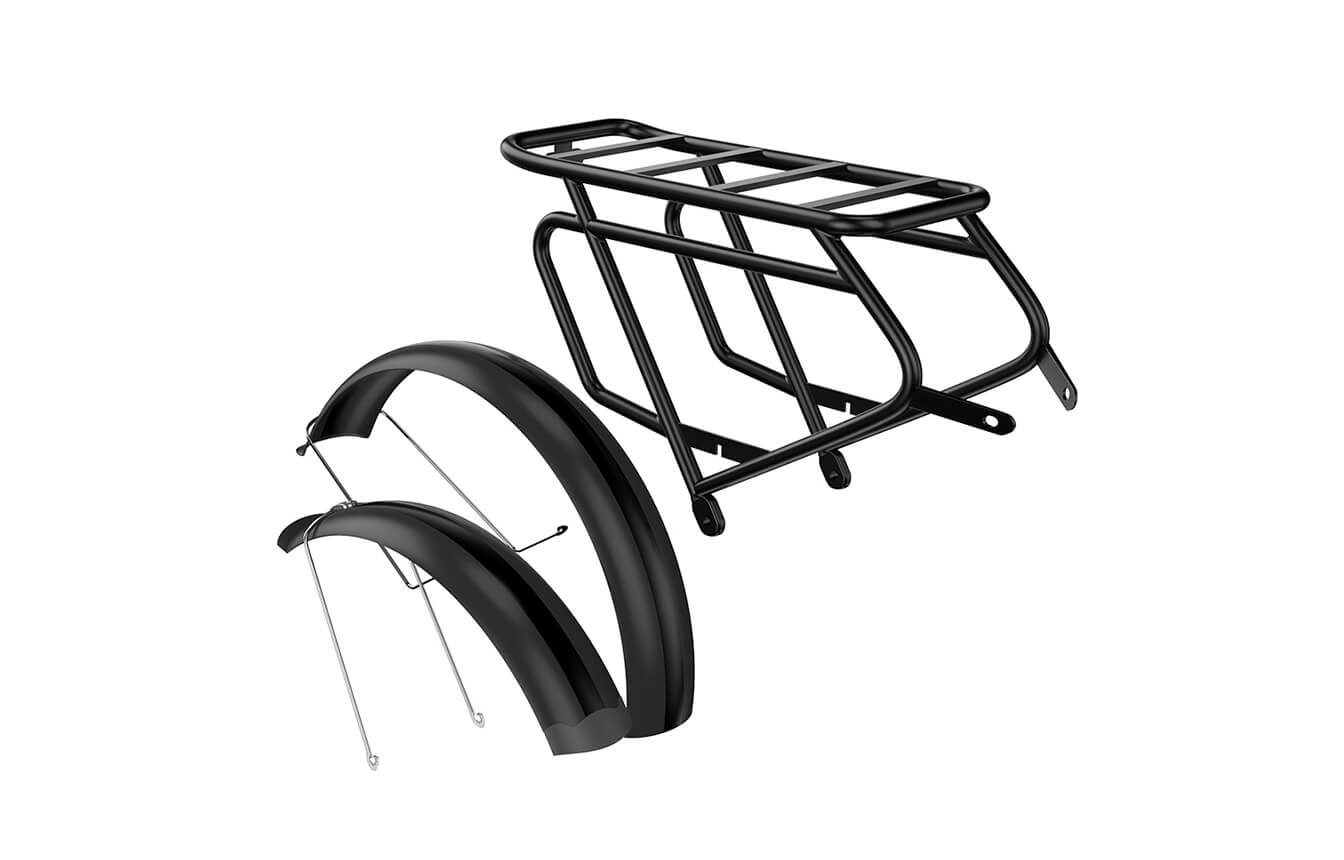


Rack Installation Guide for RV3

You may encounter hole alignment issues when installing the Rack. This happens because the brackets of the Rack are relatively long and flexible, which can cause slight deformation during transportation if there is compression. However, this does not affect the functionality and installation of the Rack. Please note that when installing the Rack, you can initially tighten the four screws partially. Once all four screws are secured, tighten them all in sequence. This will ensure that you can make slight adjustments while aligning the Rack holes. A small amount of resistance is normal, but take your time and make sure you don't cross-thread the bolts or damage the threads in the frame.
YouTube link:
https://youtu.be/W_tAaK44lzQ
Tools needed: Multi-function hex wrench
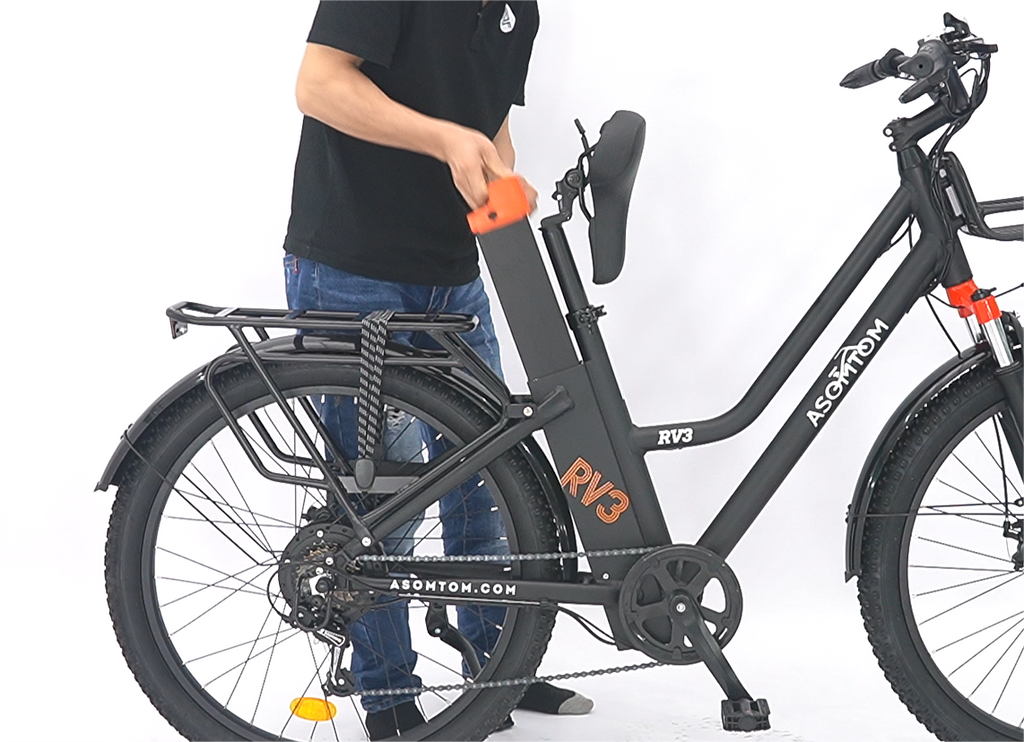
Step 1: Remove the battery.
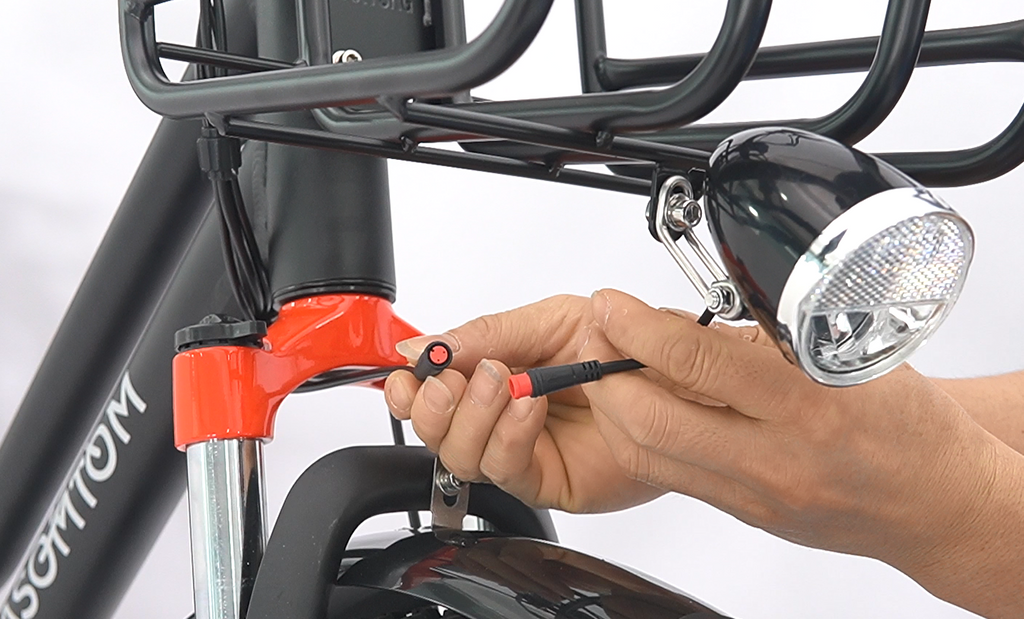
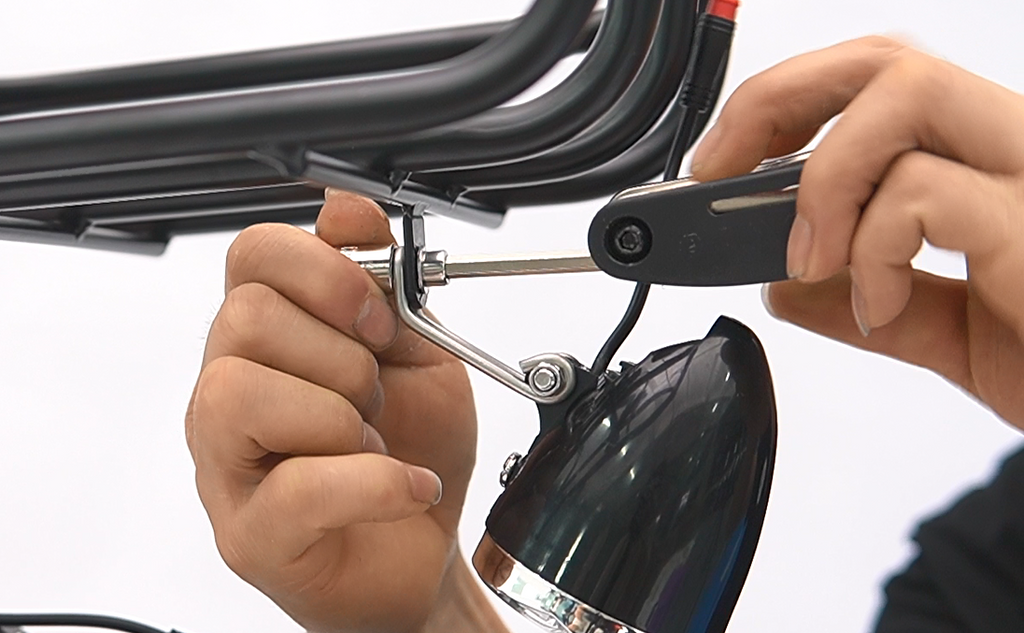
Step 2: Disconnect the front headlight wiring and remove the front headlight.
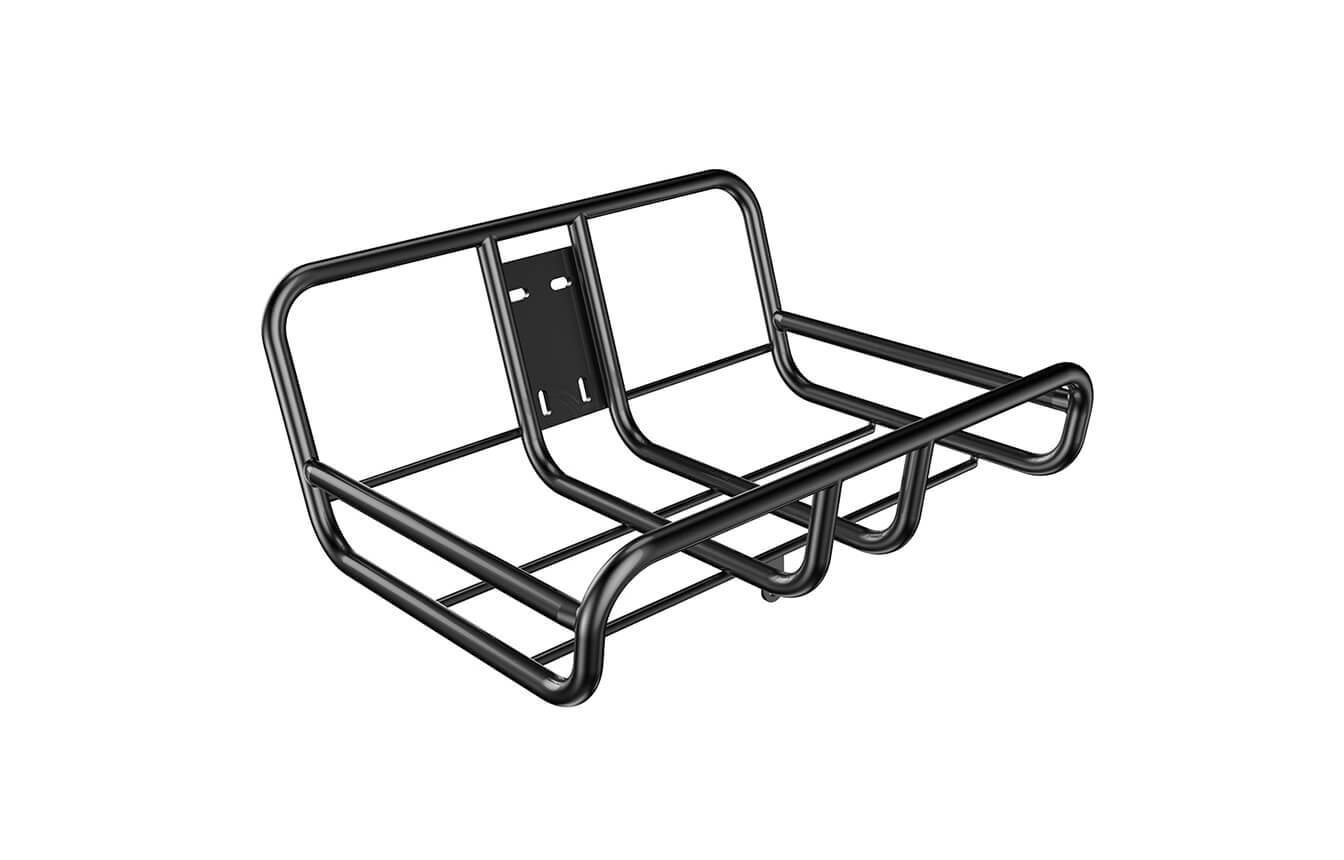
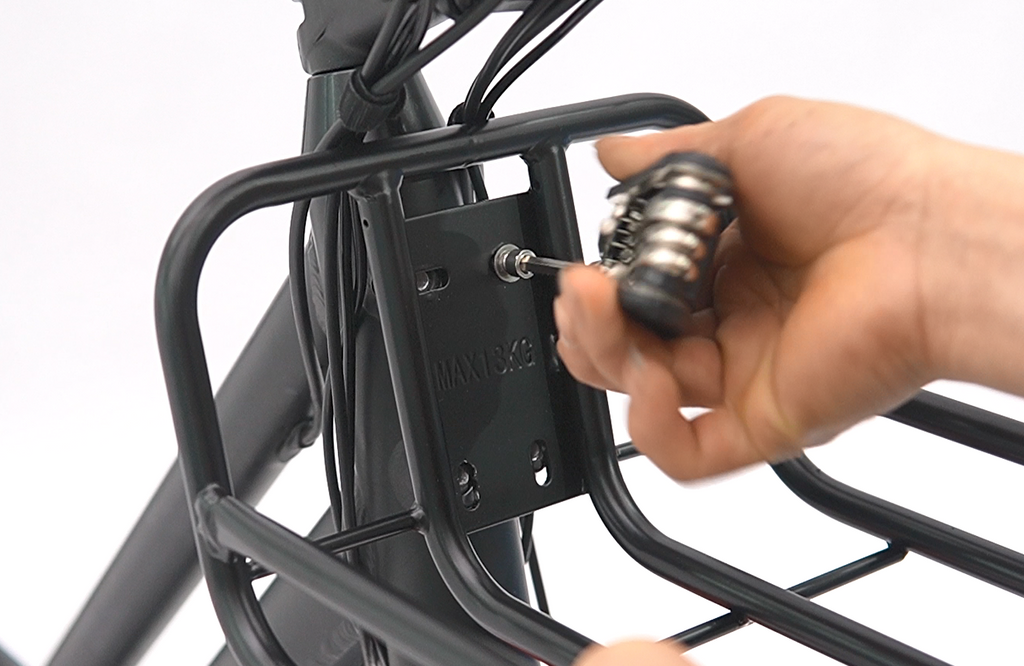
Step 3: Loosen the four screws securing the Rack and remove the front Rack.
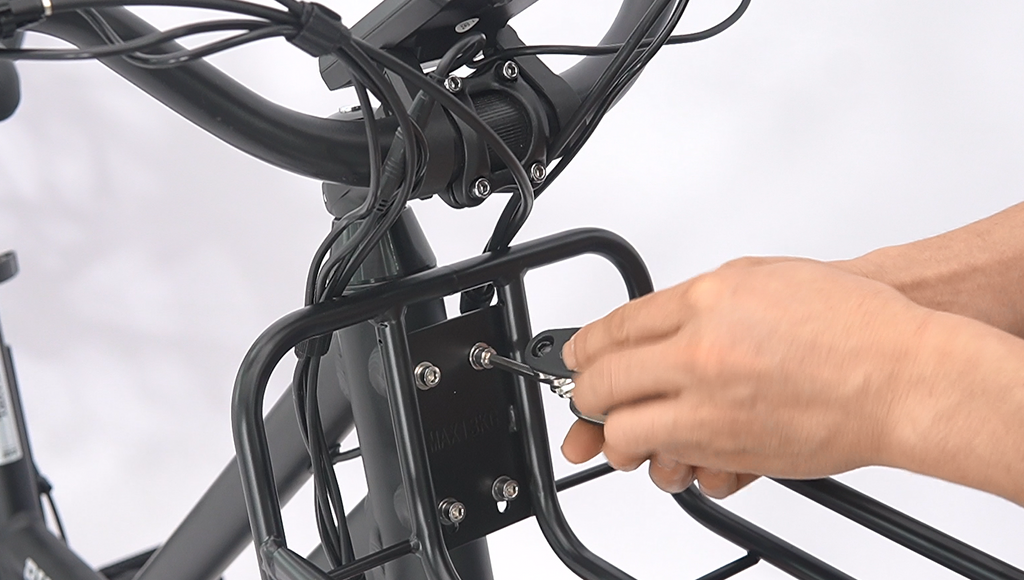
Step 4: Install the new front Rack. Tighten the four screws, starting with the diagonal ones, and then tighten them all.
Step 5: Install the front headlight and connect the headlight wiring.
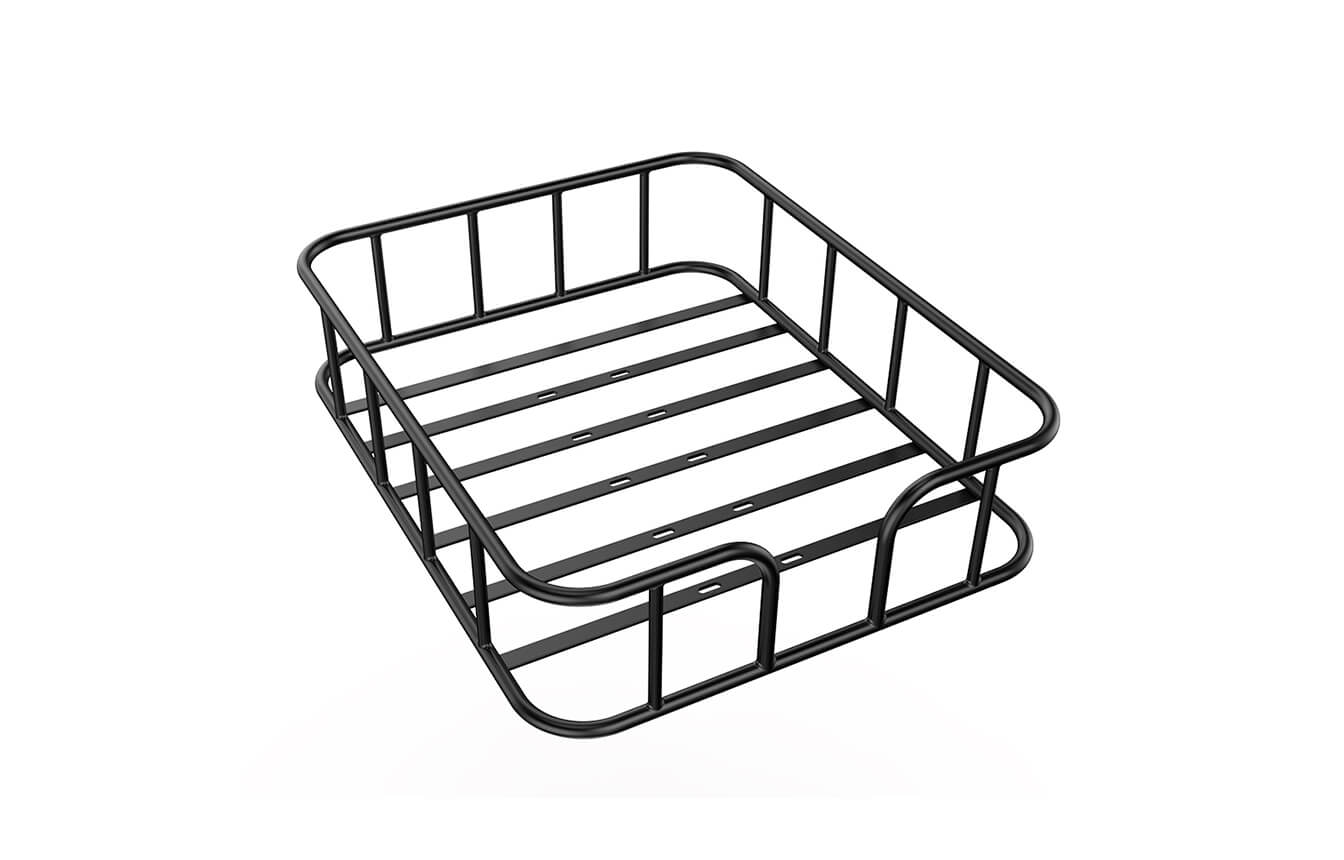
Step 6: Remove the two screws on each side of the rear Rack and take out the rear shelf.

Leave a comment