


How to Assemble the Asomtom Whale 2.0 Etrike: Full Step-by-Step Guide

🚲 Assembly Guide: Asomtom Whale 2.0 Etrike
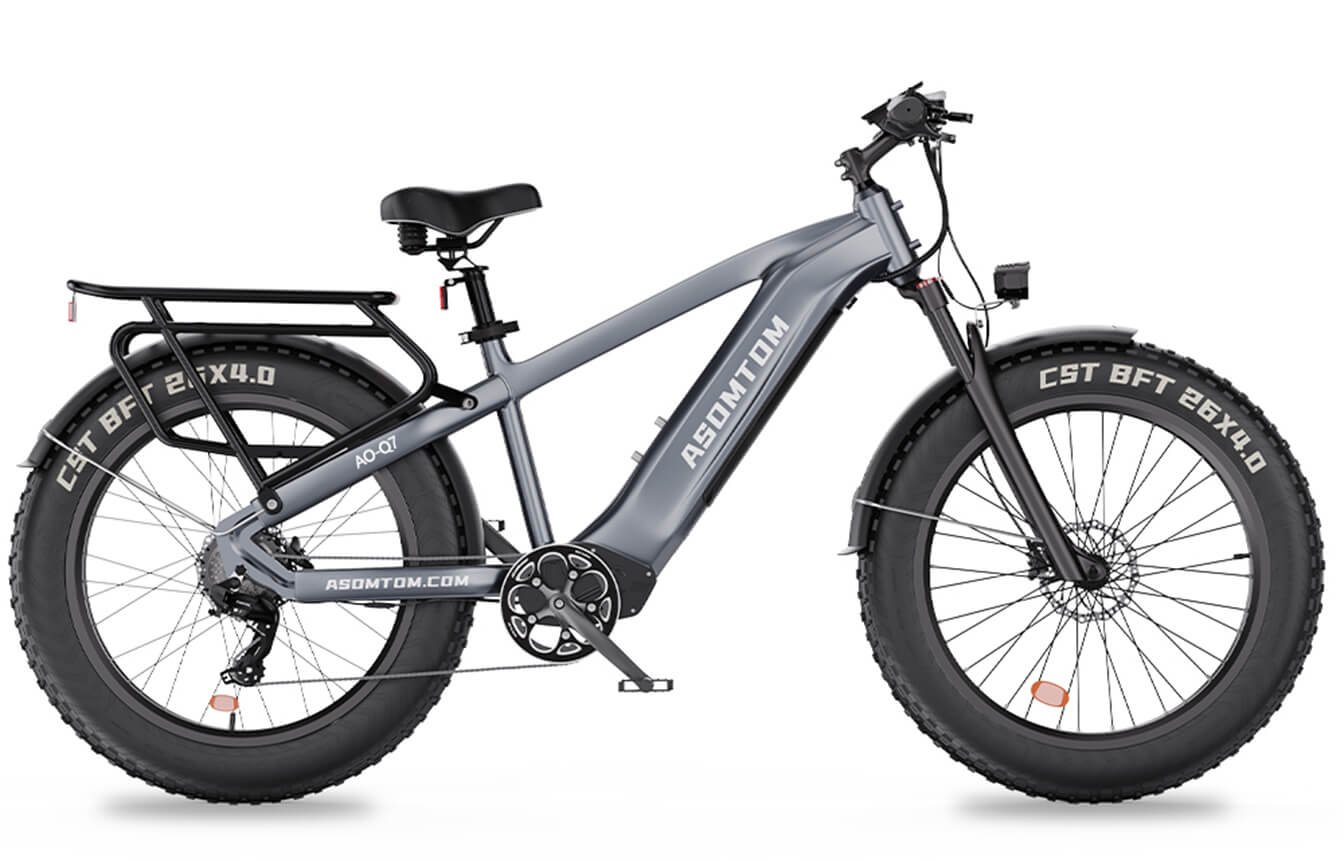
Asomtom Whale 2.0 Etrike – Heavy-duty electric trike for cargo, comfort, and control.
🔗 Learn more: Adult 3-Wheel Cargo Ebike WHALE 2.0
▶️ Watch the full assembly video: Step-by-Step Installation Tutorial
Part 1: Install the Rear Wheel Assembly
-
Remove the safety tape from the axle.
-
Unscrew and remove the nuts and washers from both sides of the axle.
-
Make sure the side with the brake disc faces inward, then align the wheel with the dropouts.
-
Push the wheel fully into place, then reinstall the washers and nuts.
-
Repeat the same steps on the other side.
Part 2: Connect the Rear Frame Section
-
Remove the mounting bolts on both sides of the front section.
-
Align the rear section with the bolt holes on the front section.
-
Insert the bolts into the aligned holes.
-
Lightly tighten them to hold the frame in place.
Part 3: Install the Motor and Chain
-
Take out the chain tool and move both sliders to the outermost positions.
-
Loop the chain under the motor and drive shaft, then loosely connect the ends.
-
Place the chain into the tool and tighten the left knob to secure it.
-
Rotate the right handle clockwise to push the chain pin into position.
-
Rotate the handle counterclockwise, loosen the left knob, and remove the chain.
-
Move the chain up and down to check if it's properly installed.
Part 4: Install the Front Wheel
-
Loosen the nuts on both sides of the front wheel to a suitable position.
-
Remove the front fork protectors and the brake caliper spacer.
-
Align the brake disc with the brake caliper, and insert the front wheel into the fork.
-
Rotate the washers into the designated slots and lightly tighten the nuts.
-
Gently push the wheel by hand to ensure it is centered within the fork.
-
Fully tighten the axle nuts to secure the front wheel.
Part 5: Install the Handlebar
-
Rotate the stem so the handlebar clamp faces forward.
-
Remove the four handlebar clamp bolts.
-
Place the handlebar in the desired position and lightly secure it with the bolts.
-
Use a cross-tightening pattern to evenly tighten the four bolts.
-
Adjust the stem angle, then tighten the two side bolts.
(Note: One side is round, one is hex—tighten from the hex side.) -
Align the handlebar so it's perpendicular to the trike’s frame.
-
Remove the dust cap, tighten the top bolt, then reinstall the cap.
-
Tighten the two side bolts on the stem to complete the installation.
Part 6: Adjust the Rear Frame Position
-
Place the chain onto the sprocket and rotate the crank to ensure smooth movement.
-
Adjust the rear section position to avoid excessive slack or tension in the chain.
-
Tighten the mounting bolts on both sides to secure the rear section.
-
Recheck the chain tension to ensure proper alignment and smooth operation.
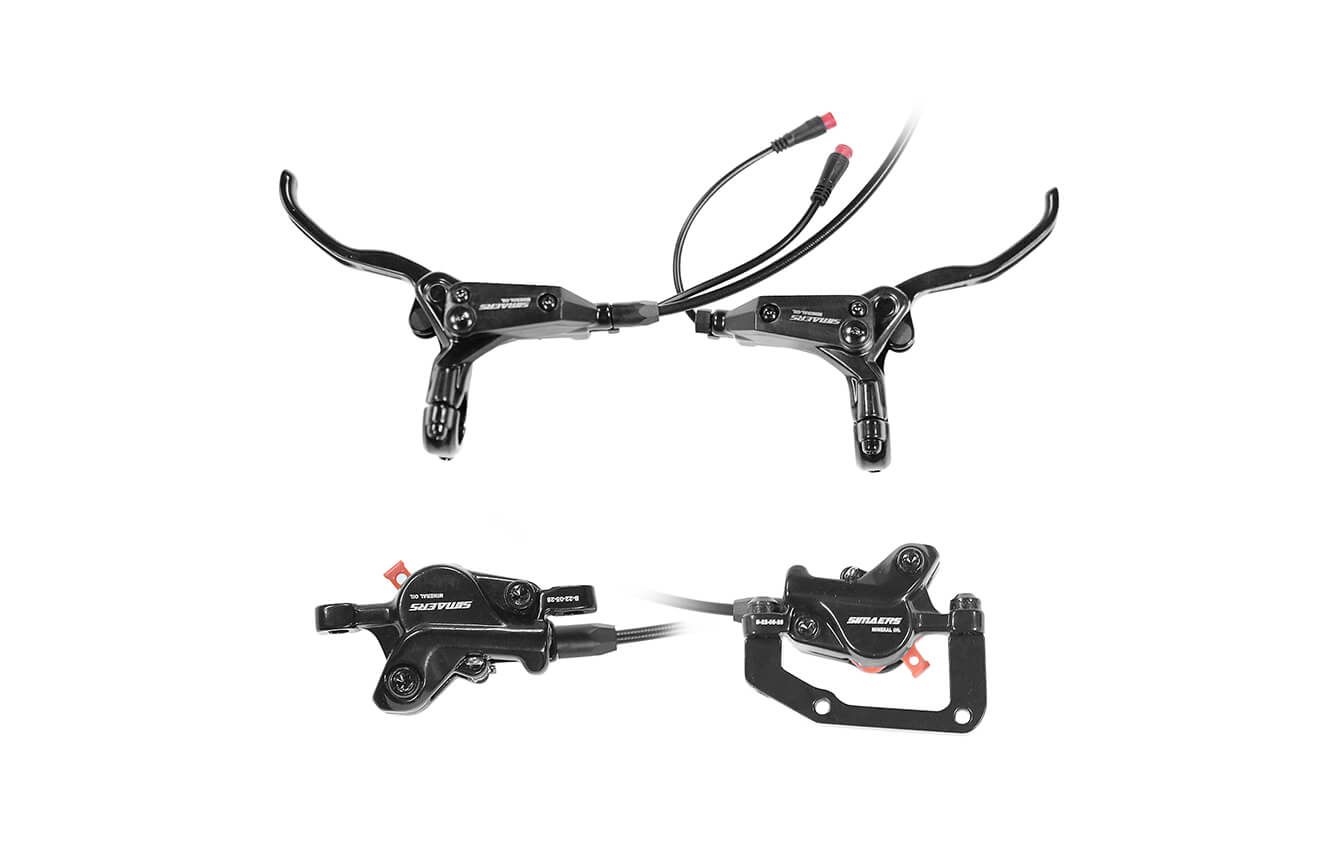
Part 7: Install Rear Brake Calipers
-
Remove the caliper mounting bolts.
-
Remove the caliper spacer, align with the disc, and slide into place.
-
Lightly tighten the caliper bolts to hold it in position.
-
Repeat on the other side.
-
Squeeze the brake lever and press the parking button to keep it engaged.
-
Fully tighten the caliper mounting bolts.
Part 8: Install the Rear Taillight
-
Route the taillight wire from the designated opening.
-
Remove the mounting nut and confirm the correct orientation.
-
Secure the taillight in place.
-
Use zip ties to fasten the wire along the frame.
-
Trim off the excess ends of the zip ties.
Part 9: Install Front Rack and Headlight
-
Remove the pre-installed mounting bolts.
-
Position the rack and loosely install the bolts diagonally.
-
Fully tighten all bolts.
-
Mount the headlight to the bracket hole on the rack.
-
Align arrows on the headlight cable and connect securely.
Part 10: Install Pedals and Saddle
-
Identify the left and right pedals and hand-thread them into the crank arms.
-
Use a wrench to fully tighten each pedal.
-
Repeat for the other side.
-
Take out the seat post and loosen clamp bolts.
-
Insert the seat post into the saddle and lightly tighten.
-
Adjust saddle angle and fully tighten.
-
Insert the saddle into the seat tube, adjust height, and lock.
(Note: If the quick release is loose, tighten the side knob.)
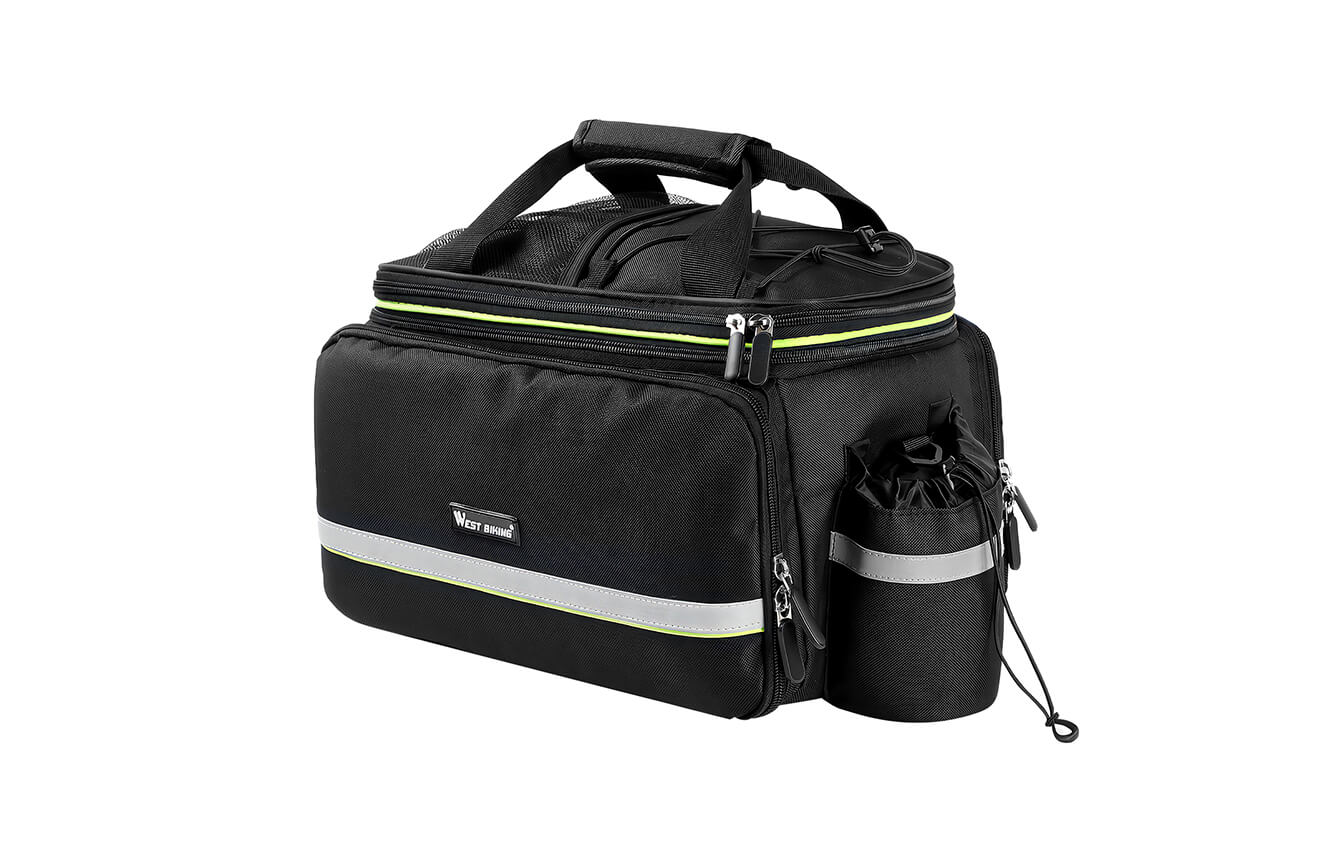
Part 11: Install Canvas Bag
-
Unfold the support frame.
-
Install the side support bars.
-
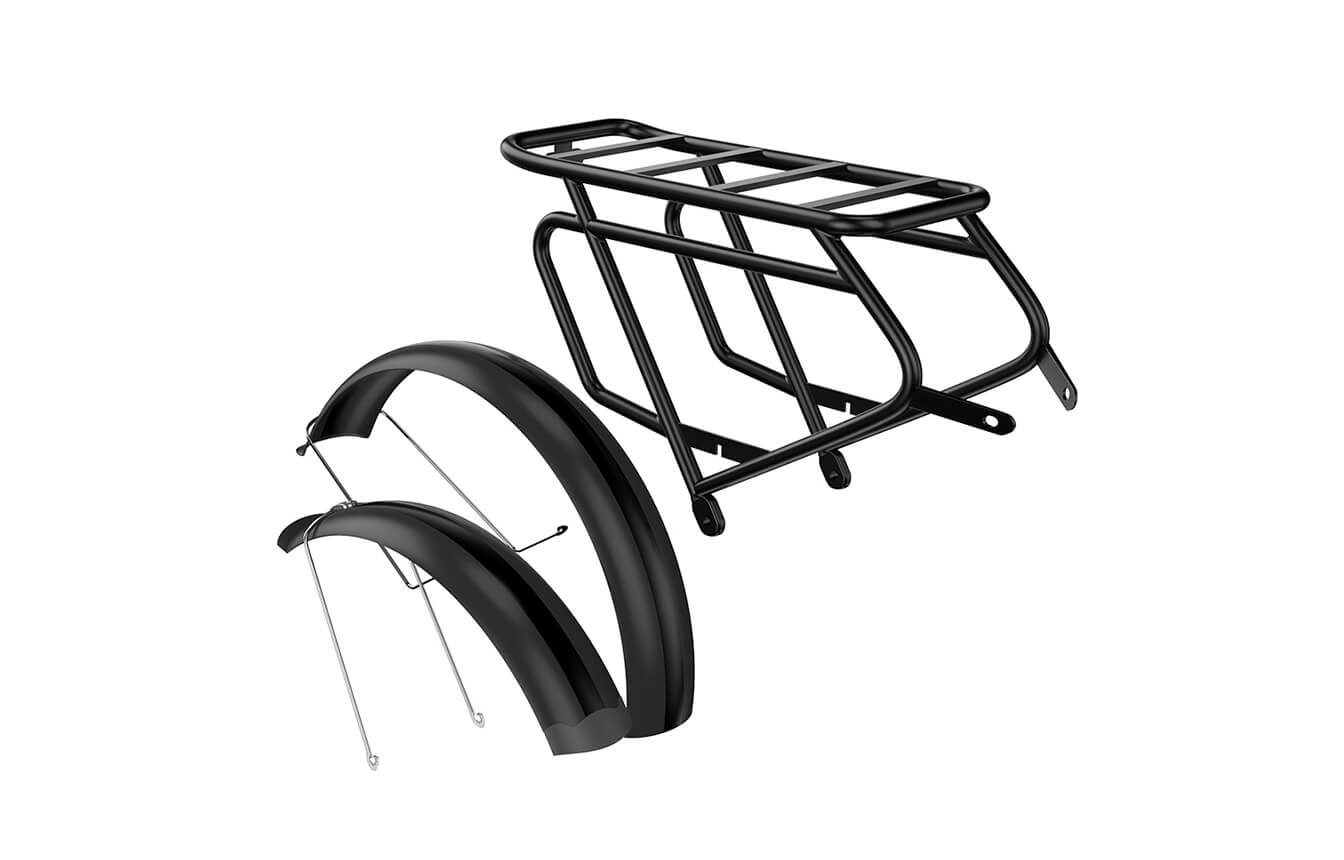
Flip the frame to install the rear fender.
-
Loosely install fender screws.
(Note: The metal fender may require extra force.) -
Tighten all screws.
-
Repeat for the other side.
-
Remove rear frame mounting bolts.
-
Place the support frame onto the trike’s rear section.
-
Align holes and tighten bolts.
-
Confirm the canvas bag direction (reflective sides outward).
-
Secure the canvas bag onto the frame.
Part 12: Install Front Fender
Install the front fender according to the pre-designed mounting points.
Part 13: Install Rearview Mirrors & Final Check
-
Take out the rearview mirror.
-
Remove the spring screw from the base.
-
Adjust the bracket to a vertical position.
-
Insert the bottom nut and tighten the spring screw.
-
Loosen the mounting screw.
-
Adjust mirror position and tighten.
-
Repeat on the other side.
-
Final check: inflate tires, ensure all components are secured, and test before riding.
qu’els réglages adopter sur un tricycle asomtom whale 2 pour pouvoir rouler avec l’assistance au pedalage
avec tous les détails si ,si possible en francais. merci d’avance de vos précisions,a la prochaine commande
Leave a comment