


Replacing Fender on the RV3

If you are facing issues with replacing and installing fender on your RV3, this blog post will be helpful. Following our step-by-step instructions will improve your efficiency and prevent any loopholes. You can also watch a video tutorial on YouTube.
Tools needed: Multi-function hex wrench, zip ties, scissors, 18mm wrench
Step 1: Remove the battery.

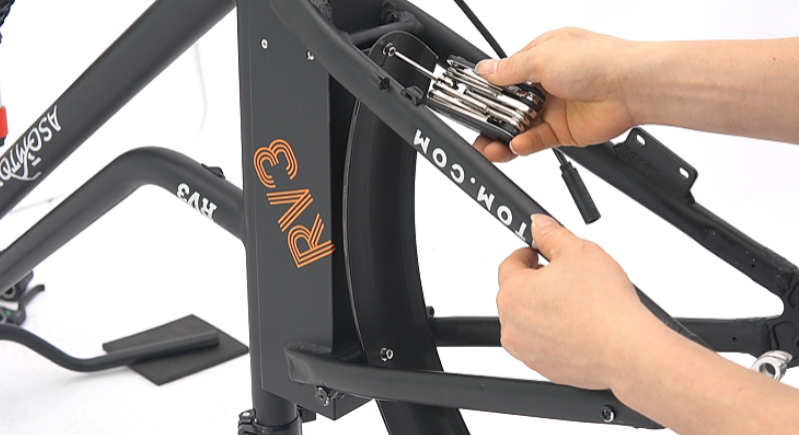
Step 2: Use the multi-function hex wrench to unscrew the screws on the left and right brackets of the front mudguard.

Step 3: Unscrew the screws on the upper part of the front fender and remove it.
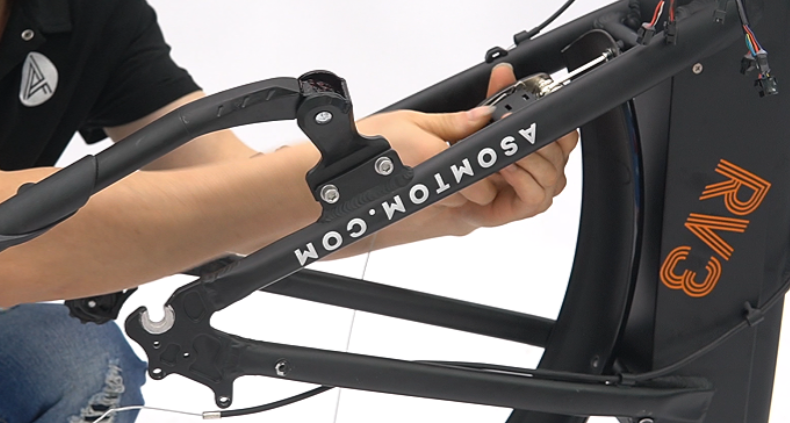
Step 4: Take out the new front fender and install it.

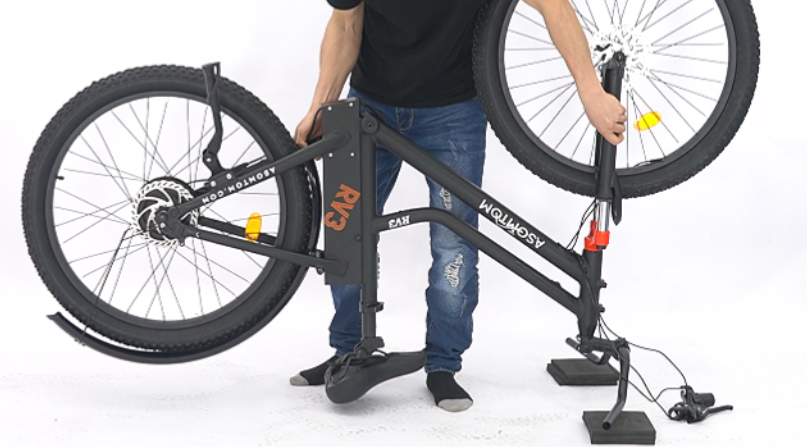
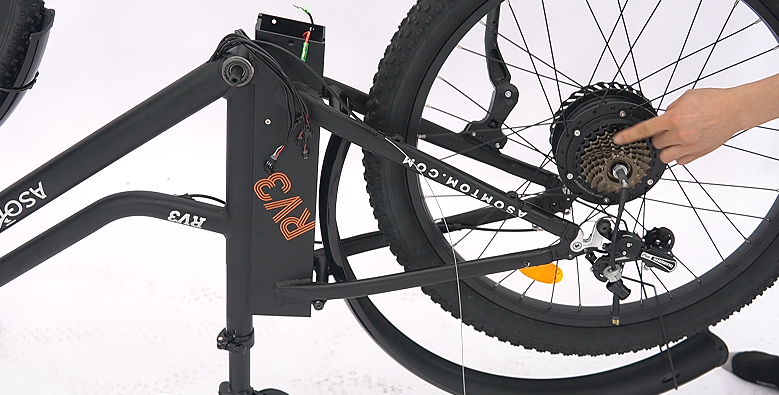
Step 5: Flip the bike over.
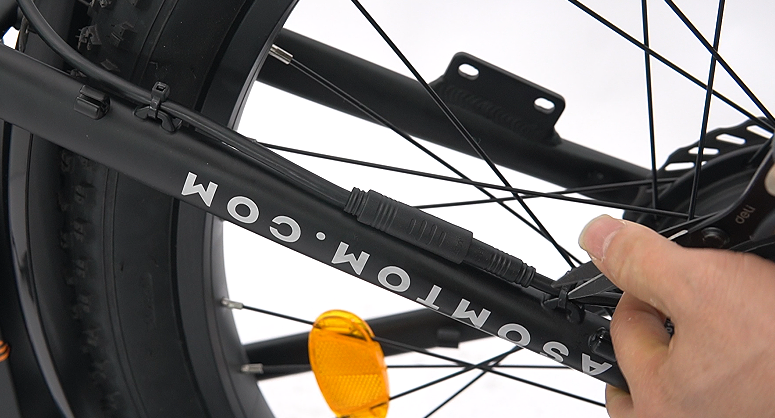
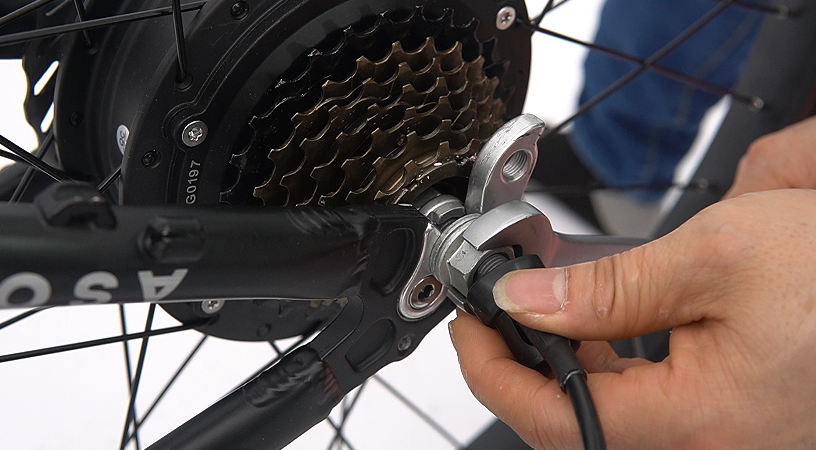
Step 6: Cut the zip ties securing the motor wires and disconnect the motor wires.
Step 7: Remove the protective frame.
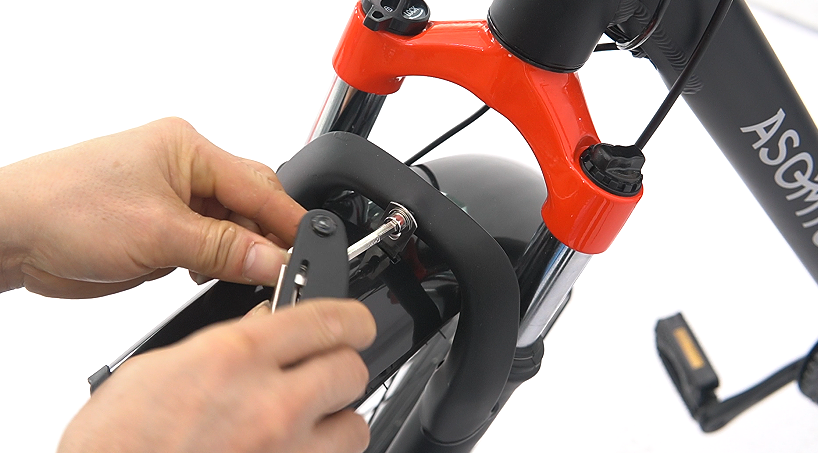
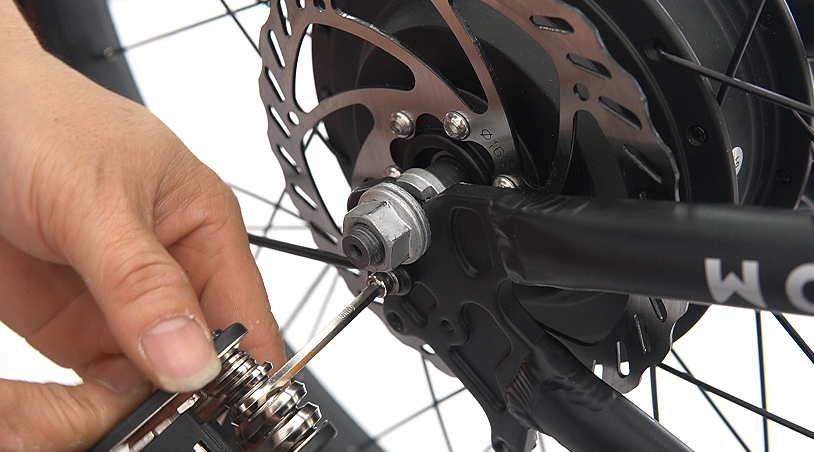
Step 8: Remove the left and right dust protection covers and use an 18mm wrench to unscrew the screws on the left and right.
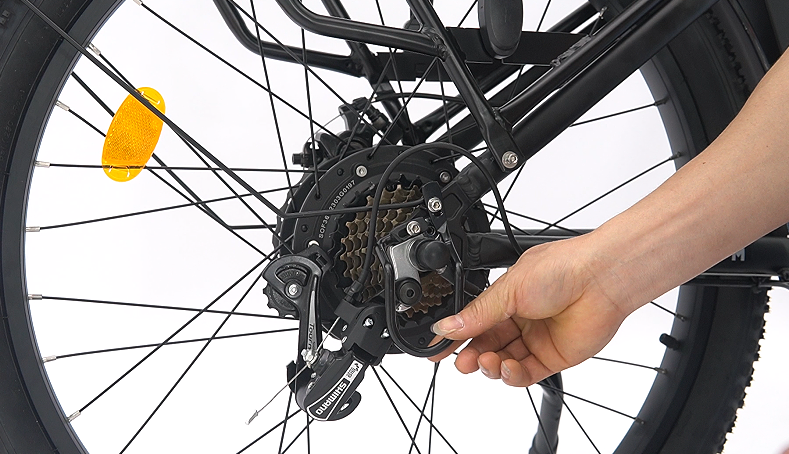
Step 9: Unscrew the screw on the left side bracket of the rear fender and remove the rear wheel.
Step 10: Unscrew the screws on the upper and lower parts of the rear fender and remove it.
Step 11: Install the new rear fender and tighten the screws on the upper and lower parts.
Step 12: Install the rear wheel.
Step 13: Install the protective frame and simultaneously install the right bracket of the rear fender.

Step 14:Connect the motor wires and secure them with zip ties.

Leave a comment